
Mortal Shell II
Mortal Shell II Builds
Choose a tested Shell plan by the problem you want to solve: Eredrim for stagger-and-riposte control, or Genessa for summon pressure and safer boss uptime.
Pick Eredrim for control
Shoulder Bash → Break → riposte
Eredrim is the cleaner starting point when your runs fail because bosses keep dictating the pace. His tested route uses Shoulder Bash to force Break windows, then converts those openings into ripostes instead of chasing a fragile damage-only combo.
The Week 1 Update matters here: it fixed the Shoulder Bash bug that could leave the primary weapon stowed, and the current build guide also tracks the patch change that makes riposte damage scale with enemy health. That makes old launch-day impressions of the loop less useful than the current tested route.
Open the Eredrim build →Pick Genessa for safer uptime
Faithful Doubles → Black Needle → Phantom pressure
Genessa fits players who want damage opportunities without standing in a boss's face for every second of the fight. Faithful Doubles are the engine: they add ranged pressure, can pull attention, and create room for Black Needle hits while Phantom effects build toward the next opening.
Her Week 1 Update changes are just as important as the build itself. The patch fixed normal and corrupted dashes, improved Intangible during grabs, and made the summon behavior more reliable. The guide below separates those verified patch changes from choices that still depend on your weapon and boss matchup.
Open the Genessa build →How to use this builds hub
Start with the failure you are actually having, not with a generic tier list. Choose Eredrim if you need repeatable control and punish windows; choose Genessa if you need summons to create space and maintain pressure. Each guide below names its patch version, evidence level, weapon route, and the assumptions that can change after balance updates. This hub intentionally stays small rather than publishing untested recipes for every Shell.

Builds
Best Eredrim Build in Mortal Shell 2: Break & Riposte Loop
A Week 1 Update Eredrim build built around Shoulder Bash, repeated Break, ripostes, Slaughter pressure and a practical Battle Axe route, with patch-sensitive choices labeled.
Updated 2026-08-30
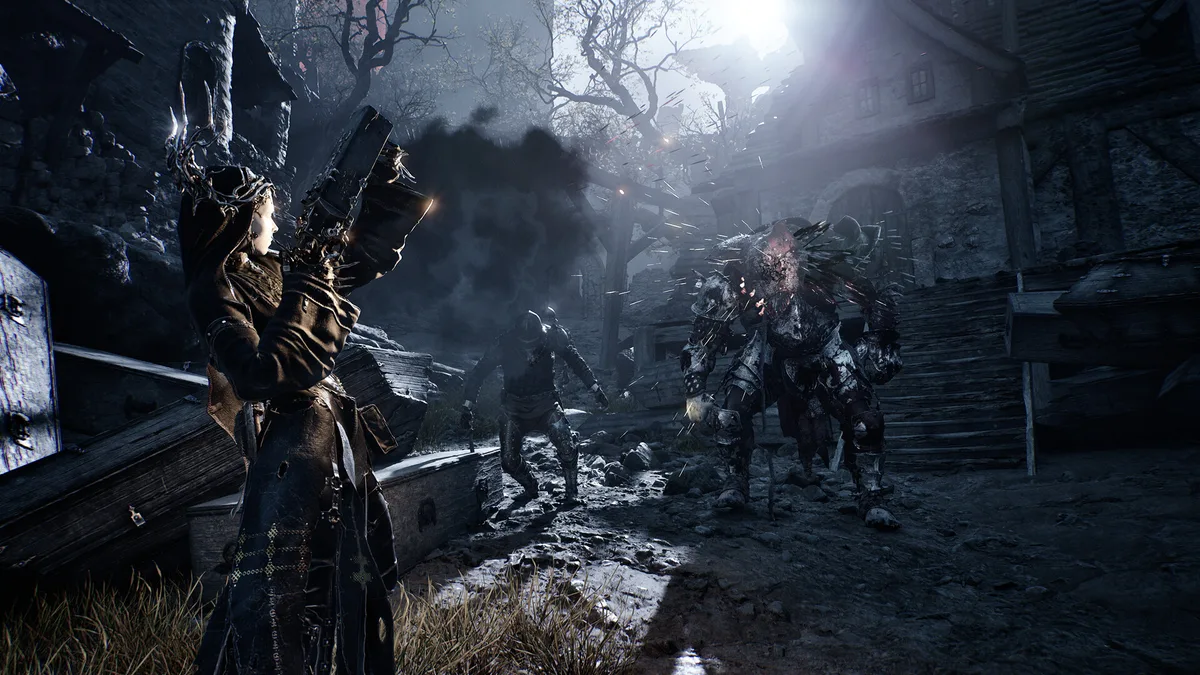
Builds
Best Genessa Build in Mortal Shell 2: Black Needle Phantom
A Week 1 Update Genessa build using Faithful Doubles, Black Needle, Phantom stacking and summon aggro to create safe boss damage, plus how stray form changes the plan.
Updated 2026-08-30